|
|||
|
|
|
||
| View Shopping Cart |
| Home |
| Guides Available |
| About the Author |
| FAQs |
| Testimonials |
| Articles |
| Contact Andrew |
| Terms & Conditions |
| Mailing List |
| Links |
 |
 |
Get more great
articles like this one absolutely free with every
Gibbs Guides e-magazine. Join
the mailing list!
10 Top Take Off Tips
How to get your model safely airborne
Article by Andrew Gibbs
The take off is an essential part of every model airplane flight. Unfortunately, its also the most risky phase of flight, along with the landing. So, anything we can do to increase the probability of a safe take off has to be reading about, right?! With this in mind, here are some tips that will help you get your model safely in the air.
To fly, or not to fly?
So, you feel like having a flight. That's great, but an
excellent start is to establish is whether or not the
fundamentals are in place for a safe flight - how are
you today, and what are the weather conditions like?
We all have 'off' days, days when we are a little tired, or perhaps just not so sharp. If you aren't at your best, it may be best not to fly today. Or you may at least consider flying a less demanding model, instead of one which stretches your abilities. For me, its far better to have an enjoyable afternoon flying a vintage cabin model without damage than to end up breaking a more demanding model.
The weather conditions are another important factor to consider. If it's a bit too blowy, it may be better to wait. The wind direction may also be a factor for your flying site; some sites become difficult to fly from with the wind from certain directions, as this can put obstacles in the take off and landing paths. Turbulence caused by such obstacles can extend a long way downwind, making flying more challenging.
The model itself is another item to think about. Are the weather conditions suitable for that model? Models with higher flying speeds and higher wing loadings tend to handle wind better than others.
Assuming that you've established that it's worth taking a trip to the flying field, let's now have a look at the actual process of taking off. We'll assume that the model has been checked for airworthiness, the receiver battery (if fitted) has plenty of charge, that you have a fully charged battery connected, and are ready to take off. How do you try and give your model the best odds of surviving the transition from ground to air?
|
|


1. Range check
Some modelers incorrectly assume that because they are
using 2.4 GHz equipment, that the radio link is more or
less bulletproof. Although it is true that the link is
generally more robust than lower frequency systems which
use long aerials, there is more reliance on the the relative
orientation of the transmitter and receiver aerials with
2.4 GHz equipment. For this reason, it is sensible to
carry out a range check before flying, especially if a
model's equipment has been altered in any way.
2. Have a plan for the flight
It is always wise to have a plan in your mind, certainly
at least until the model gets up to altitude. Where are
the obstacles at your flying field, and more importantly,
what will you have to do to avoid them? What will you
do if the motor stops just after take off? It's well worth
reminding yourself before take off where the obstacles
are, and where the suitable areas are if a dead stick
landing becomes necessary.
3. Consider using a check list.
Pilots of full size aircraft know that using a check list
is an essential part of getting safely airborne. This
not because they lack skill or experience - it's just
because they know that even the most experienced pilot
could otherwise forget a simple, but important item.
Pilots of models can also benefit from the same approach. A check list doesn't have to be long or complex. A possible pre take off check list looks like this:
- M - Model memory - check the correct transmitter model memory has been selected.
- B - Battery sufficiently charged (check transmitter battery voltage)
- A - Antenna (transmitter aerial) angled correctly for best signal
- T - Trims set correctly (usually neutral)
- R - Rate switches set correctly
- C - Controls respond in the correct direction (e.g. right stick gives right aileron)
- F - Flaps (if fitted) set for take-off
Can you think of any other items which would be good to include? Check lists are an especially good idea if you are inexperienced at flying, or if your model is complex - or even if you are just forgetful!
| Take off directly into wind. | Throttle up with care. |


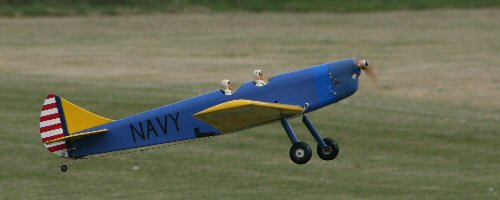
4. Take off directly into wind
Birds always take off directly into wind. This reduces
their ground speed, making take off easier and safer.
Models also benefit from taking off directly into wind.
Crosswind take offs are usually possible, but they can
make life more difficult for the pilot, especially for
those with challenging ground handling such as early biplanes.
5. Throttle up carefully
If the throttle is rapidly moved to full power, its quite
easy for the model to become directionally unstable. This
applies especially with taildraggers. It's much better
to throttle up a little more carefully, adding power as
the model gains speed and the fin and rudder start to
make a greater contribution to directional stability.
This technique alone can make all the difference between
a model that is hard to keep in a straight line, and one
that's relatively easy to get airborne.
6. Be willing to abandon the take off
It's always worth being willing to abandon a take off
if its not going well. However, I've lost count of the
number of models I've seen that whose pilots continued
with a take off when they were not really in control of
the model. Sometimes the model gets airborne, but this
type of take off always runs a significant risk of the
model suffering damage. If the model's behaviour becomes
erratic during the take off run, just close the throttle
and bring the model to a stop. This is much safer for
the model and of course any nearby trees! Have a think
about what went wrong, and then have another go.
7. Rotate gently
A model which is low and slow is at its most vulnerable,
and this is exactly the situation the model is in on take
off. If you are too enthusiastic with the application
of up elevator, it is easy to stall the wing, with potentially
disastrous consequences.
A low altitude stall must be avoided at all costs, but you should be able to prevent this by making sure you apply up elevator gently and carefully. This precaution applies to all models, especially those with sharply tapered wings, or those with small radius leading edges.
| It's important to rotate gently on take off. | If a multi motor model becomes uncontrollable, it's a great idea to immediately close the throttle. |


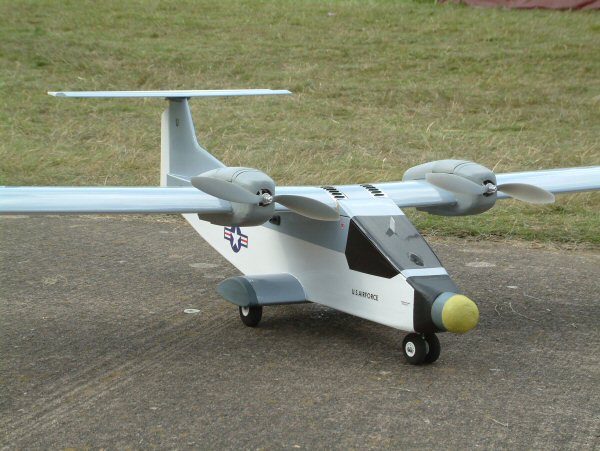
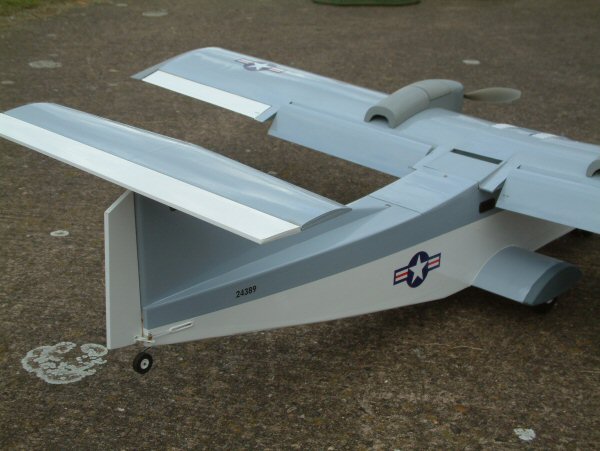
8. Multi motor models
If you are flying a conventional multi-motor model, if
one motor stops in flight, the model can become uncontrollable
extremely quickly because of the asymmetric thrust. For
this reason, when flying a multi-motor model, it's a great
idea to make the decision before take off that if the
model goes out of control, the immediate response will
be to close the throttle. This will eliminate the asymmetric
thrust state, and give you a chance to get the model back
under control - a deadstick landing under control is a
far better proposition than a model spiraling in.
9. Hand launching
Many models have suffered crashes due to poor hand launches.
Make sure your launcher knows how to give a good launch
and has some experience. The basic idea is to launch the
model so that as it leaves the launcher's hand, it is
in level flight and at flying speed. Some more heavily
loaded models will require a head wind to get airborne
safely, while lightly loaded models can be safely launched
in still air. Common hand launching faults are to throw
the model upwards, or with insufficient speed.
| This electric RC Tigercat gets safely away from a perfect hand launch. | This small, fast model needs a bungee launch to get safely airborne. |


10. Bungee launching
Bungee launching is a great way to get fast models safely
airborne. It is a very common technique for EDF jets,
which need to fly fast. It is especially important when
bungee launching to launch directly into wind. A wind
sock can assist with assessing the wind's direction. A
simpler and cheaper alternative is a 'tell tale' length
of wool attached to a pole. When long transmitter aerials
were common, the end of the aerial was a convenient place
to attach this. These days, an inexpensive alternative
would be a bamboo gardening pole.
I hope you enjoyed this article, and
that it will help you improve your take offs!