|
|||
|
|
|
||
| View Shopping Cart |
| Home |
| Guides Available |
| About the Author |
| FAQs |
| Testimonials |
| Articles |
| Contact Andrew |
| Terms & Conditions |
| Mailing List |
| Links |
 |
 |
More high quality information absolutely
free with every
Gibbs Guides newsletter. Sign
up now!
Graham Dorschell's EDF Avro Vulcan
Part 2 - Finishing & Flying
Article & photos by Graham Dorschell
Edited by Andrew Gibbs
Installing the fans and motors
I was concerned that the relatively intakes were not large
enough for the four fans to breathe properly, so I decided
to use a cheat hole. This consisted of a hole in just
front of the fans in the bottom surface of the wing. I
hoped that this would allow the EDF electric power system
to provide plenty of thrust (In fact, EDF installations
can be successful with surprisingly small intake areas,
provided the ducting is carefully designed - AG)
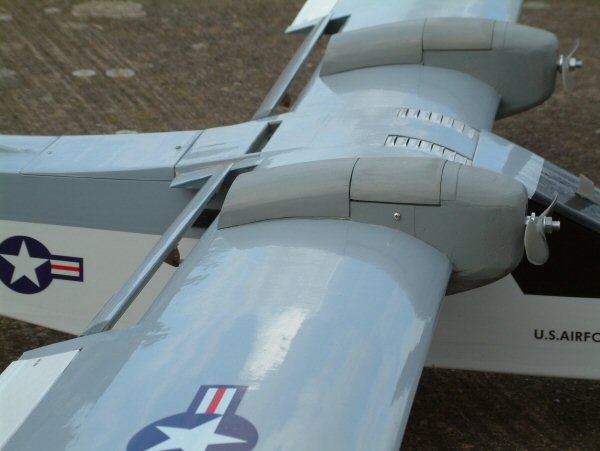
Four thrust tubes were made from long cardboard tubes. These tapered from about 70mm diameter where the tubes fitted the EDF units, down to 60mm at the exhausts. This smaller diameter looks more scale like, and increases the efflux velocity.
Two different brands of EDF unit were
used for the model. The reason for this is that these
were what I had available, left over from previous projects.
|
|


Covering and painting
The fully sheeted model was covered in iron-on Solartex.
Before applying the covering I sponged on some watered
down PVA to the airframe and allowed it to dry.
Once covered, I painted the model using
cans of car spray paint. Two different tones of gray were
used to represent the disruptive camouflage scheme applied
to XH558.
| Before applying the fabric, the completed airframe was sponged in dilute PVA adhesive. | The completed airframe was covered in iron on fabric prior to painting. |


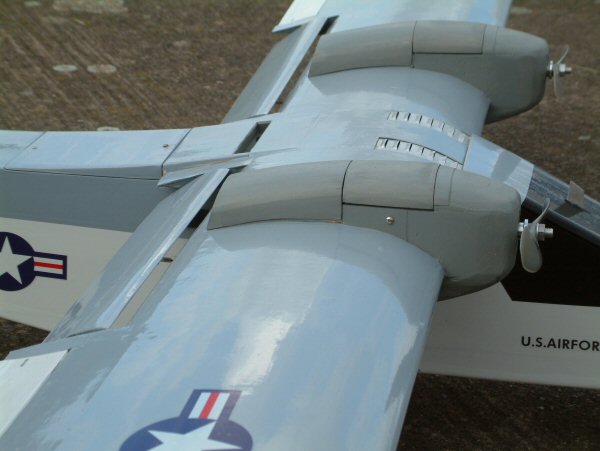
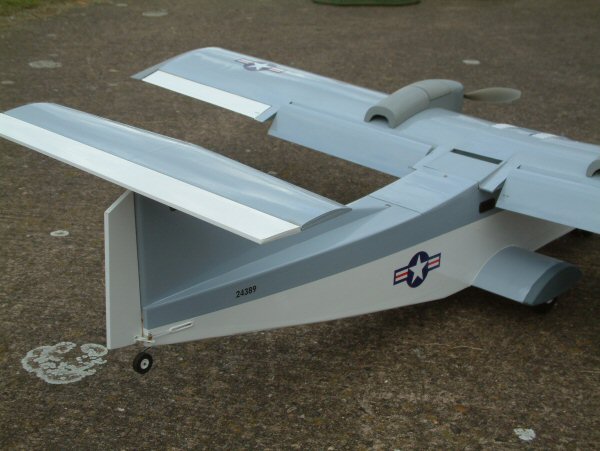
| The airframe in its basic camouflage scheme. Markings have yet to be added. | Installing the fans after painting. 60 Amp ESCs are used. |


Markings
I chose to finish the model as XH558 which is the only
airworthy Avro Vulcan in the world. This machine has been
restored to flying condition by the Vulcan to the
Sky Trust after years of effort and fundraising.
Flying
The day of the maiden flight was bright and calm and I
was ready for action – but I did wonder if there
would be enough power for good performance. The reason
for my doubt was that the model came out 3lbs heavier
than the previous pusher Vulcan and the electric set up
didn’t seem to provide very much thrust. However
I was hopeful that the thrust would be adequate.
The first flight was from a smooth tarmac runway. There was very little wind. I positioned the new Vulcan at the start of the runway, and increased power slowly, keeping the model straight as it accelerated. A light touch of elevator had the model climbing out at a steady angle.
The model performed better than my expectations and it flew overhead with a very gratifying whistle from the four ducted fans. Once the model was trimmed I brought her down from the heavens and made some pleasing low passes with no bother – straight, level and very much in control. As I made a pass at head height I opened the taps and pulled her up to a forty five degree angle and she climbed away as if from the Farnborough days but without the truly deafening roar of the four Bristol Olympus engines at high power. I bet they set a few car alarms off!
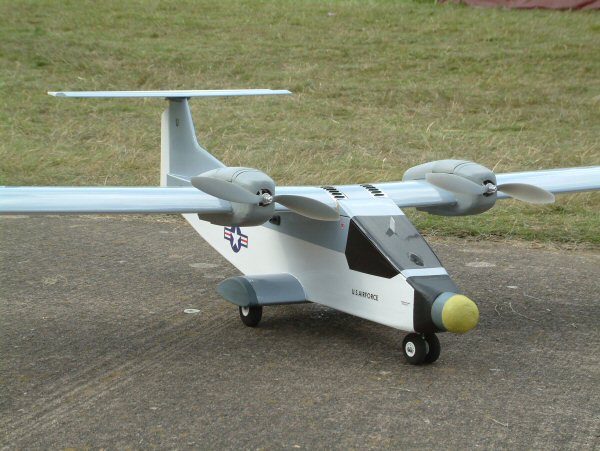
| Inside the bomb bay | The finished Vulcan looking very purposeful. |


The big model looked slow and majestic in flight and the large wing seemed to be able to carry the model’s 14lbs (6,350g) with ease. After 7 minutes it was time to land so I lowered the wheels and turned on to finals. I flared using a small amount of elevator and was rewarded with a perfect first landing.
As I taxied back to the start of the runway the butterflies were still flying in my stomach but I was so happy.
| Jet Pipes | The EDF Vulcan makes a great sight as it flies past. |


After making a number of flights it was clear that the higher weight of the new Vulcan with its four heavy 4,000mAh batteries had caused the nose wheel housing to become bent. This made the model sit in a nose down attitude which resulted in poor take off performance. An additional nose wheel was fitted which made the model more scale-like.
Overall I am very happy with the performance of this model. She is easy to fly and a lot of fun. The model could almost be flown as a trainer – it really is that easy to fly. The model has no vices and does not require a large amount of runway.
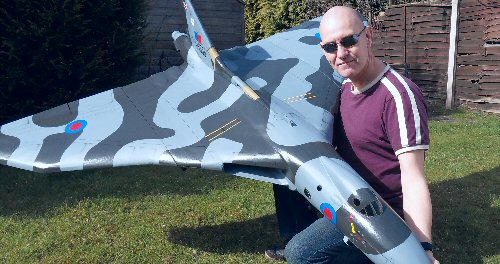
| Builder, model and full size together | Landing. |


Conclusion .
The model took me the best part of a year to design and
build, but it was well worth the effort. Although I am
happy with the performance, instead of the present 3S
LiPo batteries I would use 4S 3,300mAh packs. This would
give even better performance for about the same weight.
| EDF Avro Vulcan technical data | ||
| Span | 1,725 mm | 68 inches |
| Root chord | 840 mm | 33 inches |
| Wing Area |
0.00 sq m | 10.3 sq ft (1,486 sq in) |
| Flying Weight | 6,350g | 14lb |
| Wing Loading | 00g/dm | 21.7 oz/sq ft |
| Battery | 4 x 3S 4,000mAh LiPo | |
| ESC | 4 x 60 Amp | |
| Motor and fan units | 2 x 70mm Lander fans, Kv 4,200 2 x 70mm EFlite fans, Kv 3,800 | |
| Max Power (estimated but not measured) | Approx 30 Amps / 330 Watts per motor - total power consumption is approximtely 1,320 Watts | |
| Power Loading (max power) | 000 W/kg | Approx 94 W/lb |
| Endurance | Approx 8 - 10 min | |
| Control functions | Elevons, throttle, retracts. | |